NDE Services
- Shearwave UT
- Hardness Testing
- Corrosion / Erosion Surveys
- Ultrasonic Testing
- Magnetic Particle
- Liquid Penetrant
- Magnetic Flux Leakage
Shearwave UT
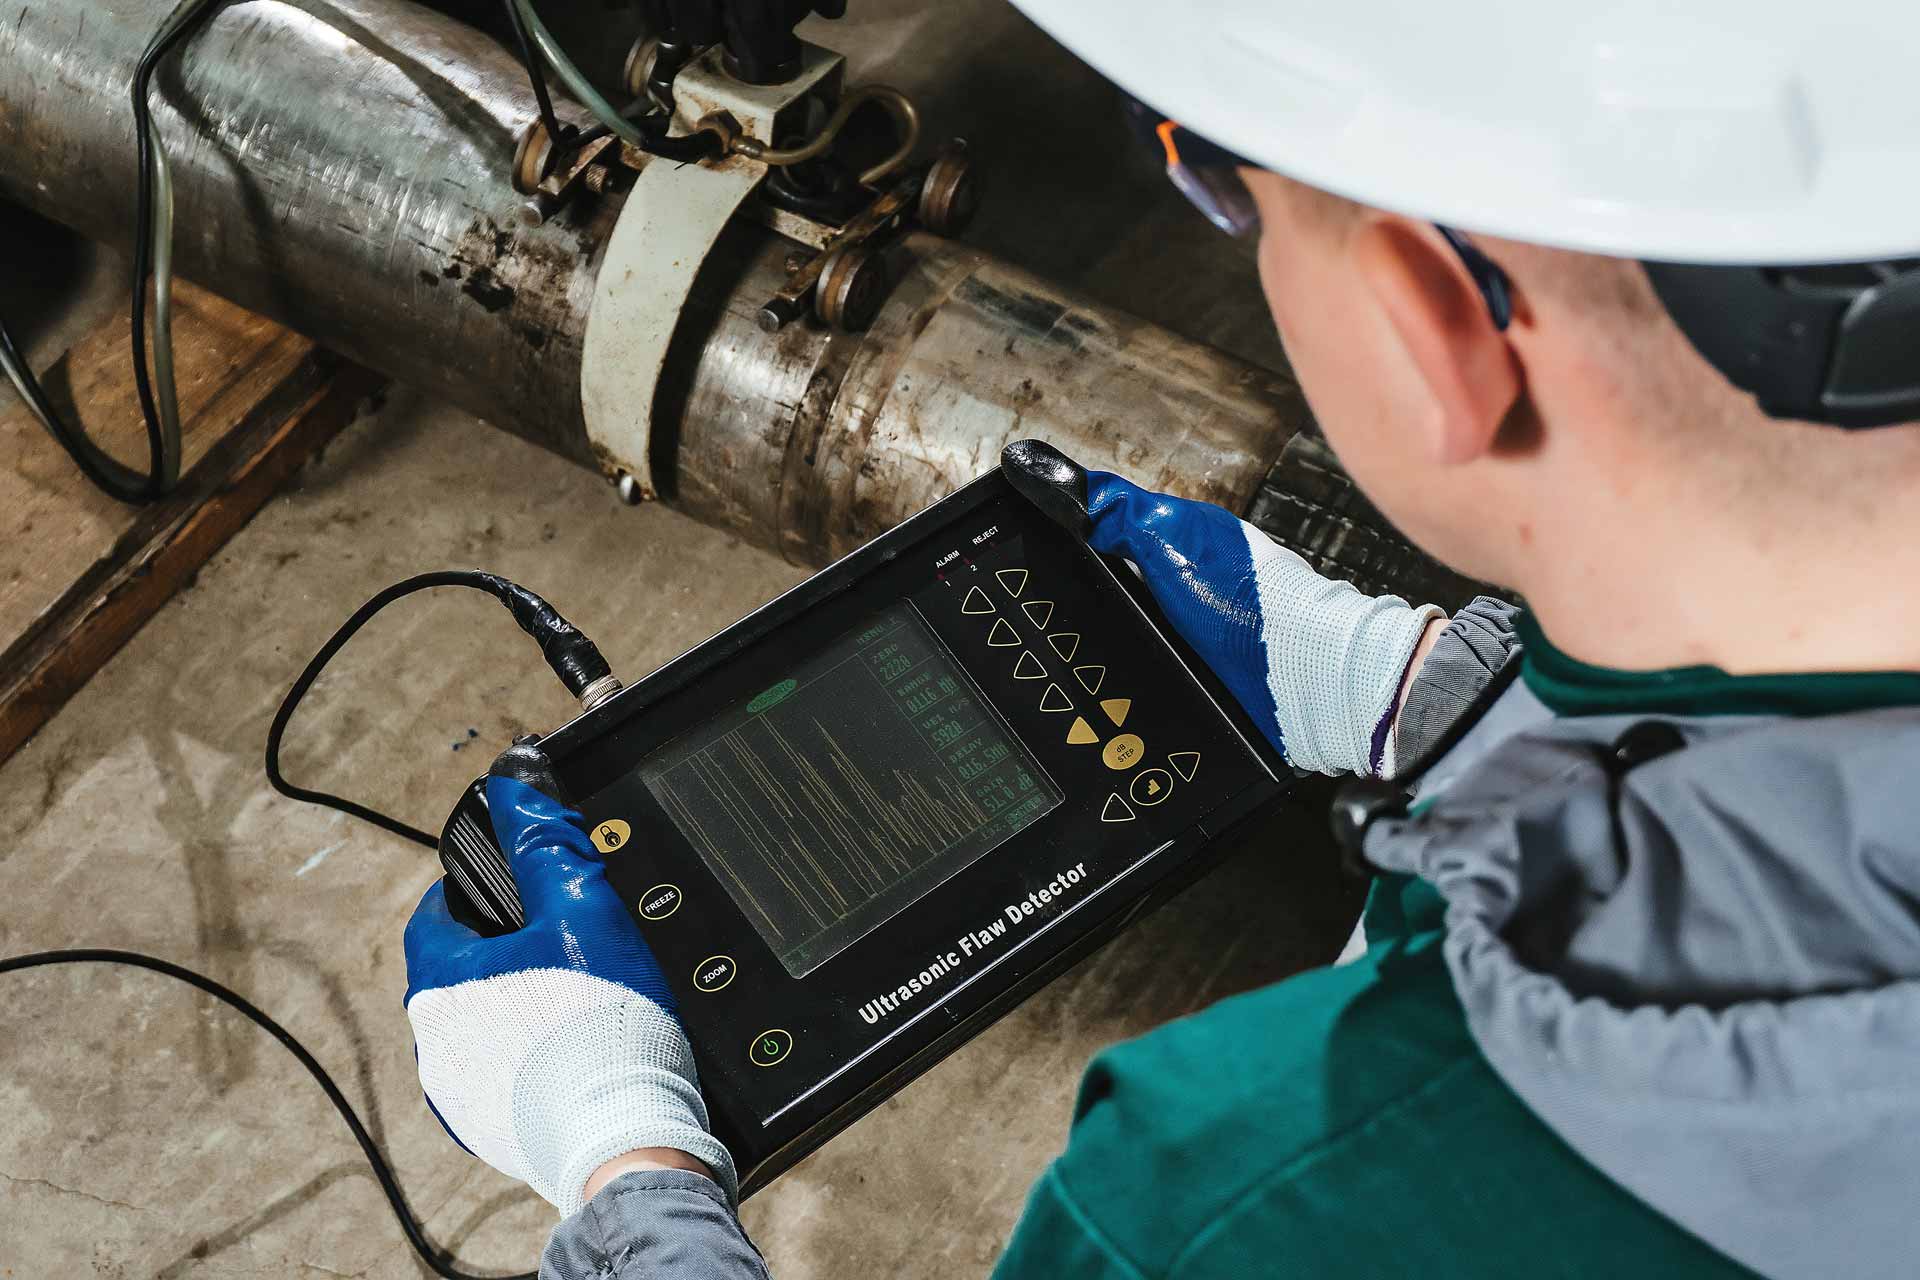
The ultrasonic shear wave method is a technique that uses angle beam ultrasonic testing to identify subsurface anomalies not found directly underneath the transducer itself. Shear wave ultrasonic testing uses ultrasonic energy reflected back to the transducer from indications within a material and or weld. This is displayed as an A-scan, from which an operator can review relevant information to assess component integrity. Ultrasonic shear wave can also provide high accuracy of estimates in discontinuity size, shape and orientation.

Hardness /Testing
Hardness testing is a method for evaluating the mechanical properties of metals and other materials. The purpose of the hardness test is to determine the suitability of a material for a given application, conformance to a specification, standard, or particular treatment to which the material has been subjected (heat treatment, thermal process). Portable hardness testing is often used during new construction of equipment/piping components and the inspection of in-service components.

Corrosion/ Erosion Surveys
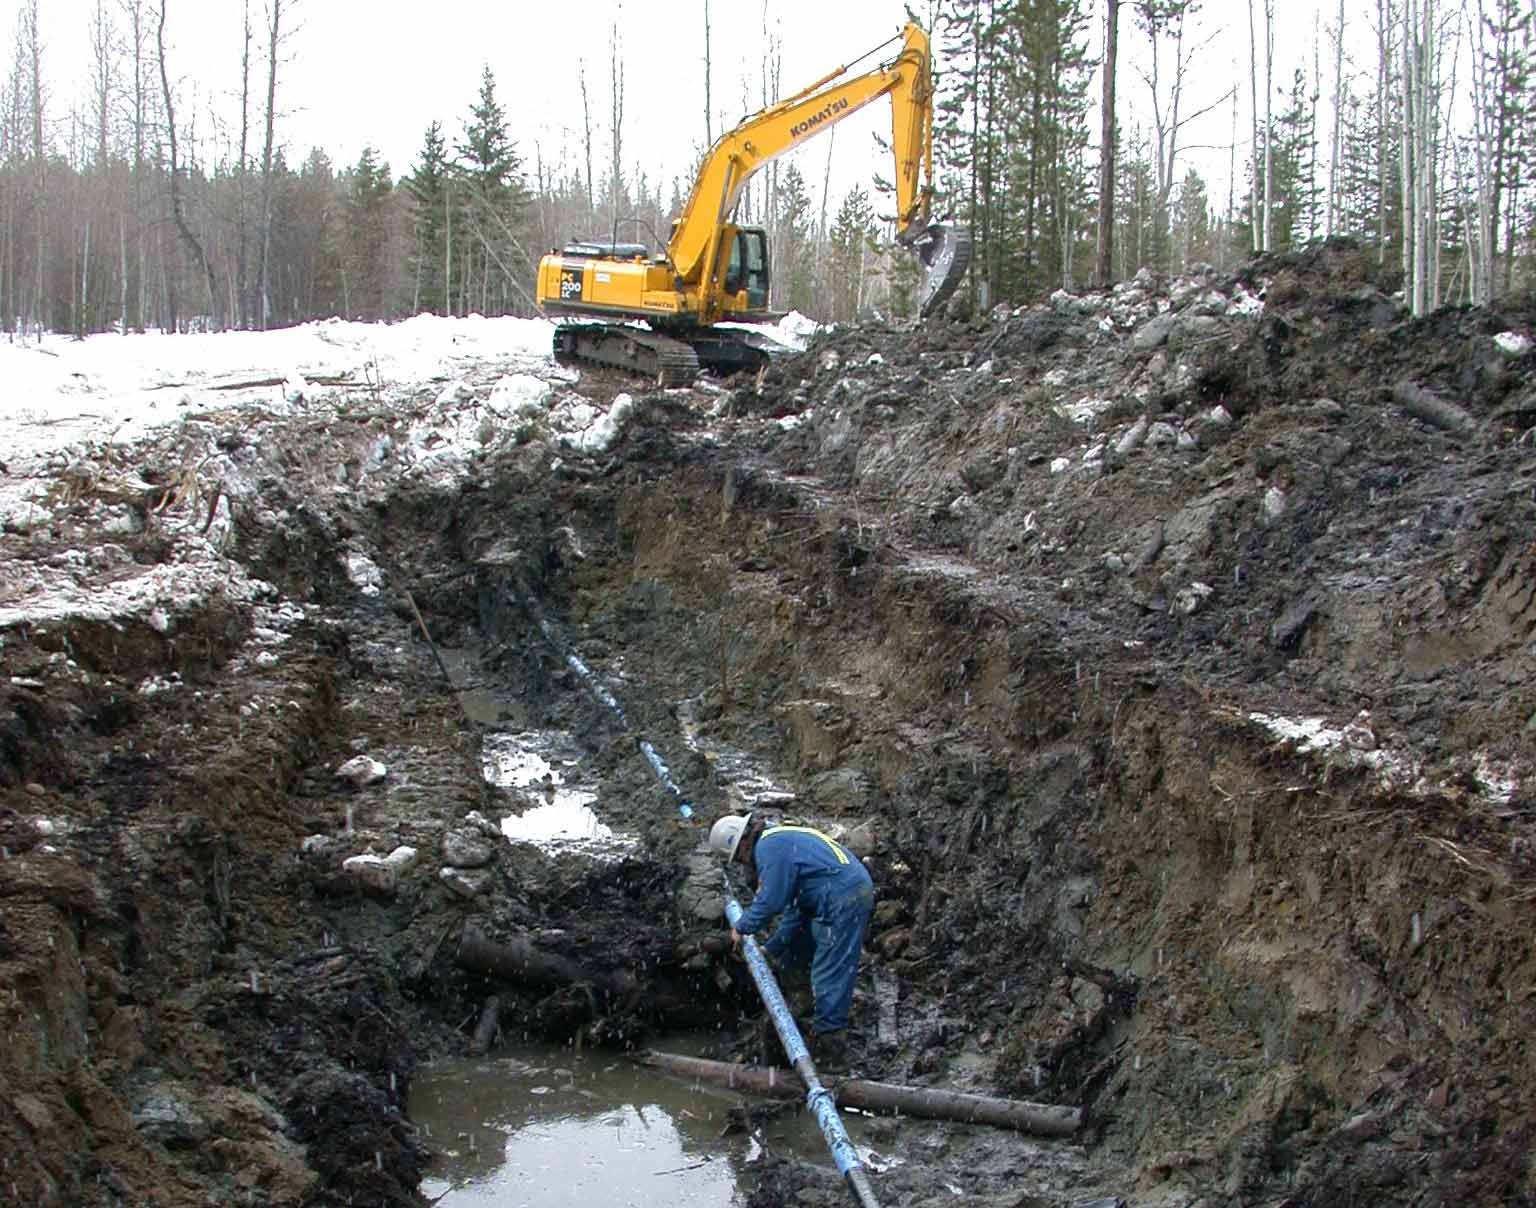
Mountain West's NDE division offers the service of monitoring both new and existing equipment. MWS NDE personnel have been trained to identify critical areas that require monitoring for each specific type of equipment. These areas are then marked out and labelled on the equipment/components and used as a reference point for future ultrasonic examinations to compare short/long term corrosion rates. Other valuable information such as Tmin and recommended retirement dates can be calculated based upon the ultrasonic findings.
The NDE division also offers CAD and data entry services to its clients. These services compliment the corrosion survey in that all isometric drawings, digital photos of vessels and data are inputted into a program and made viewable to the client on the MWS website.
Ultrasonic Testing (UT)
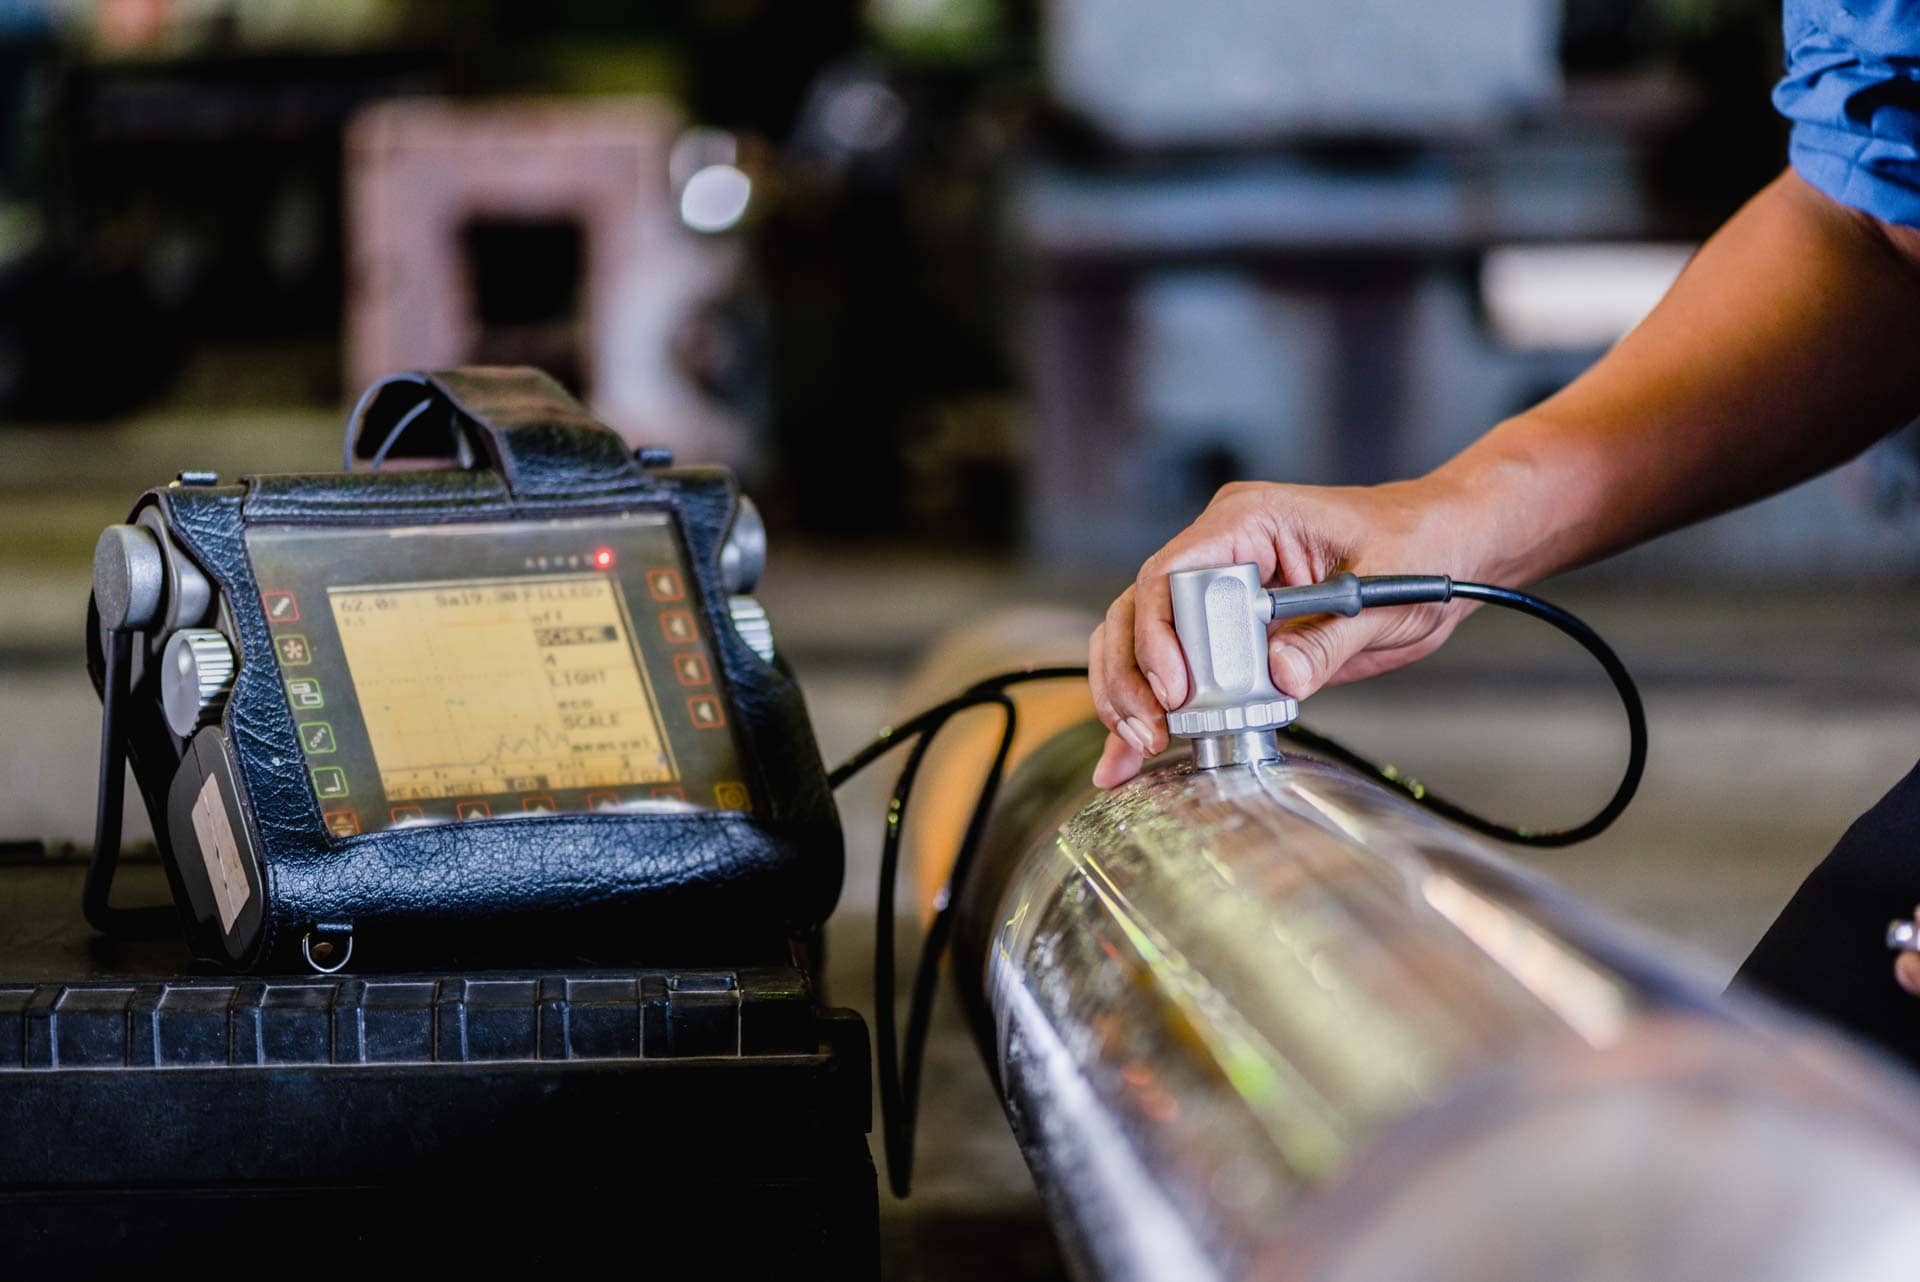
Ultrasonic testing uses high-frequency sound energy to conduct examinations. It can be used to detect flaws in components and welds and measure the thickness to determine material loss due to corrosion, erosion or pitting. Material characteristics can also be evaluated during these examinations. Reference standards are used as a mean to ensure equipment functionality and provide similar examination criteria to that of the component being examined. Ultrasonic testing is a widely used technique in today’s oil & gas industry to ensure component, piping and system integrity. (i.e.Vessels, tanks, piping).
Magnetic Particle (MT)
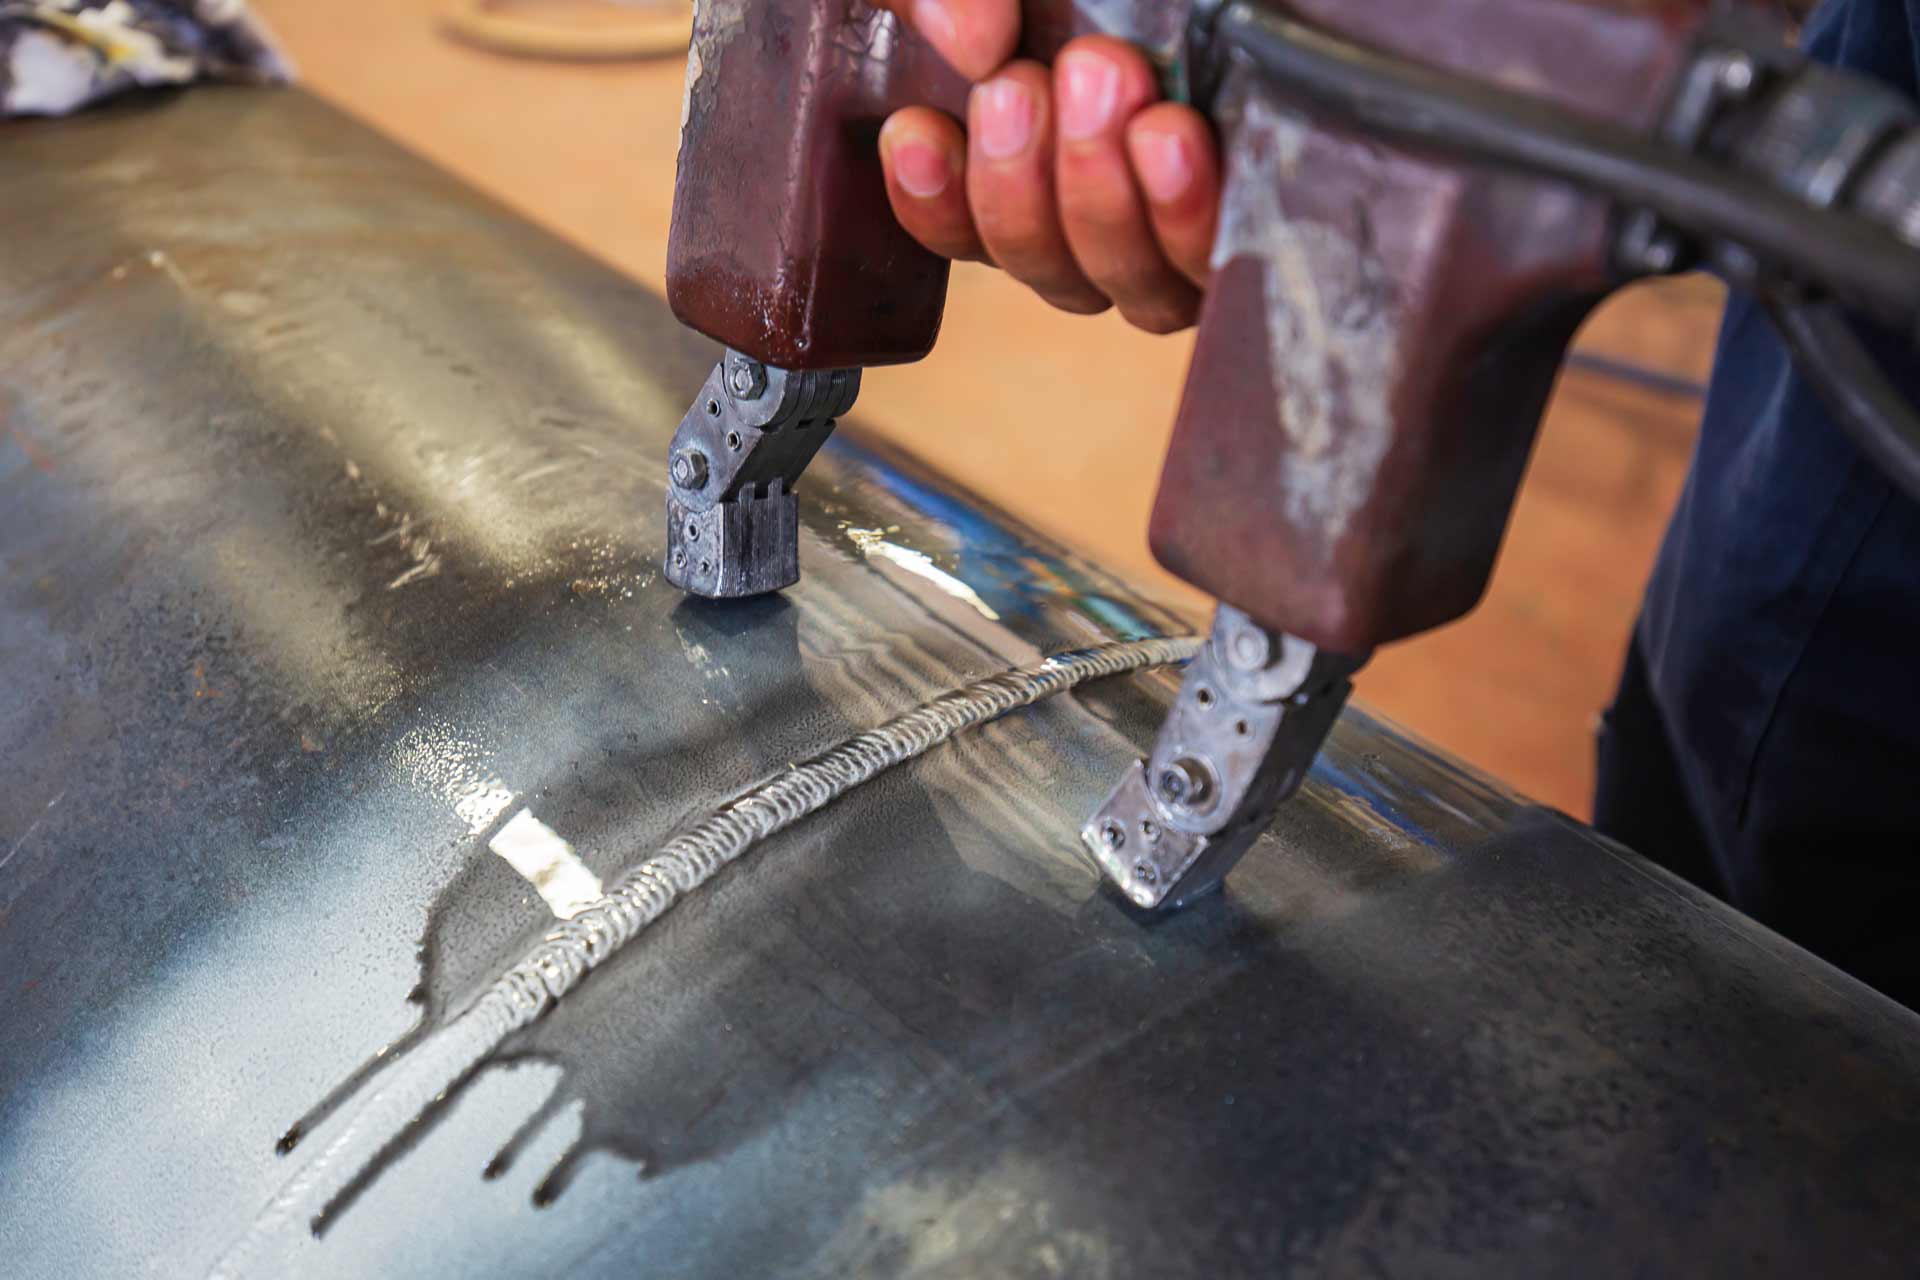
Magnetic particle testing is used for finding surface/near-surface defects/discontinuities in ferromagnetic materials. It uses a magnetizing force that induces a magnetic field within the material of interest. If the magnetic field flowing through the material encounters a defect/discontinuity, a leakage field occurs. While this magnetic field is induced within the material, ferrous iron particles are applied via a wet or dry suspension. Defects/discontinuities that are orientated perpendicular to the magnetic flux lines present the greatest external presence. The introduction of the magnetic field can be introduced in several different ways:
- Permanent magnets
- Flowing electrical current through the material via a yoke (AC or DC)
- Flowing electrical current through the material via a coil of wire that wraps around the material or a central conductor running near the material.
Two types of magnetic fields can be introduced within the material. The first type is longitudinal which runs parallel to the long axis of the material and the second type is circular which runs circumferentially around the perimeter of the material.
Liquid Penetrant (PT)
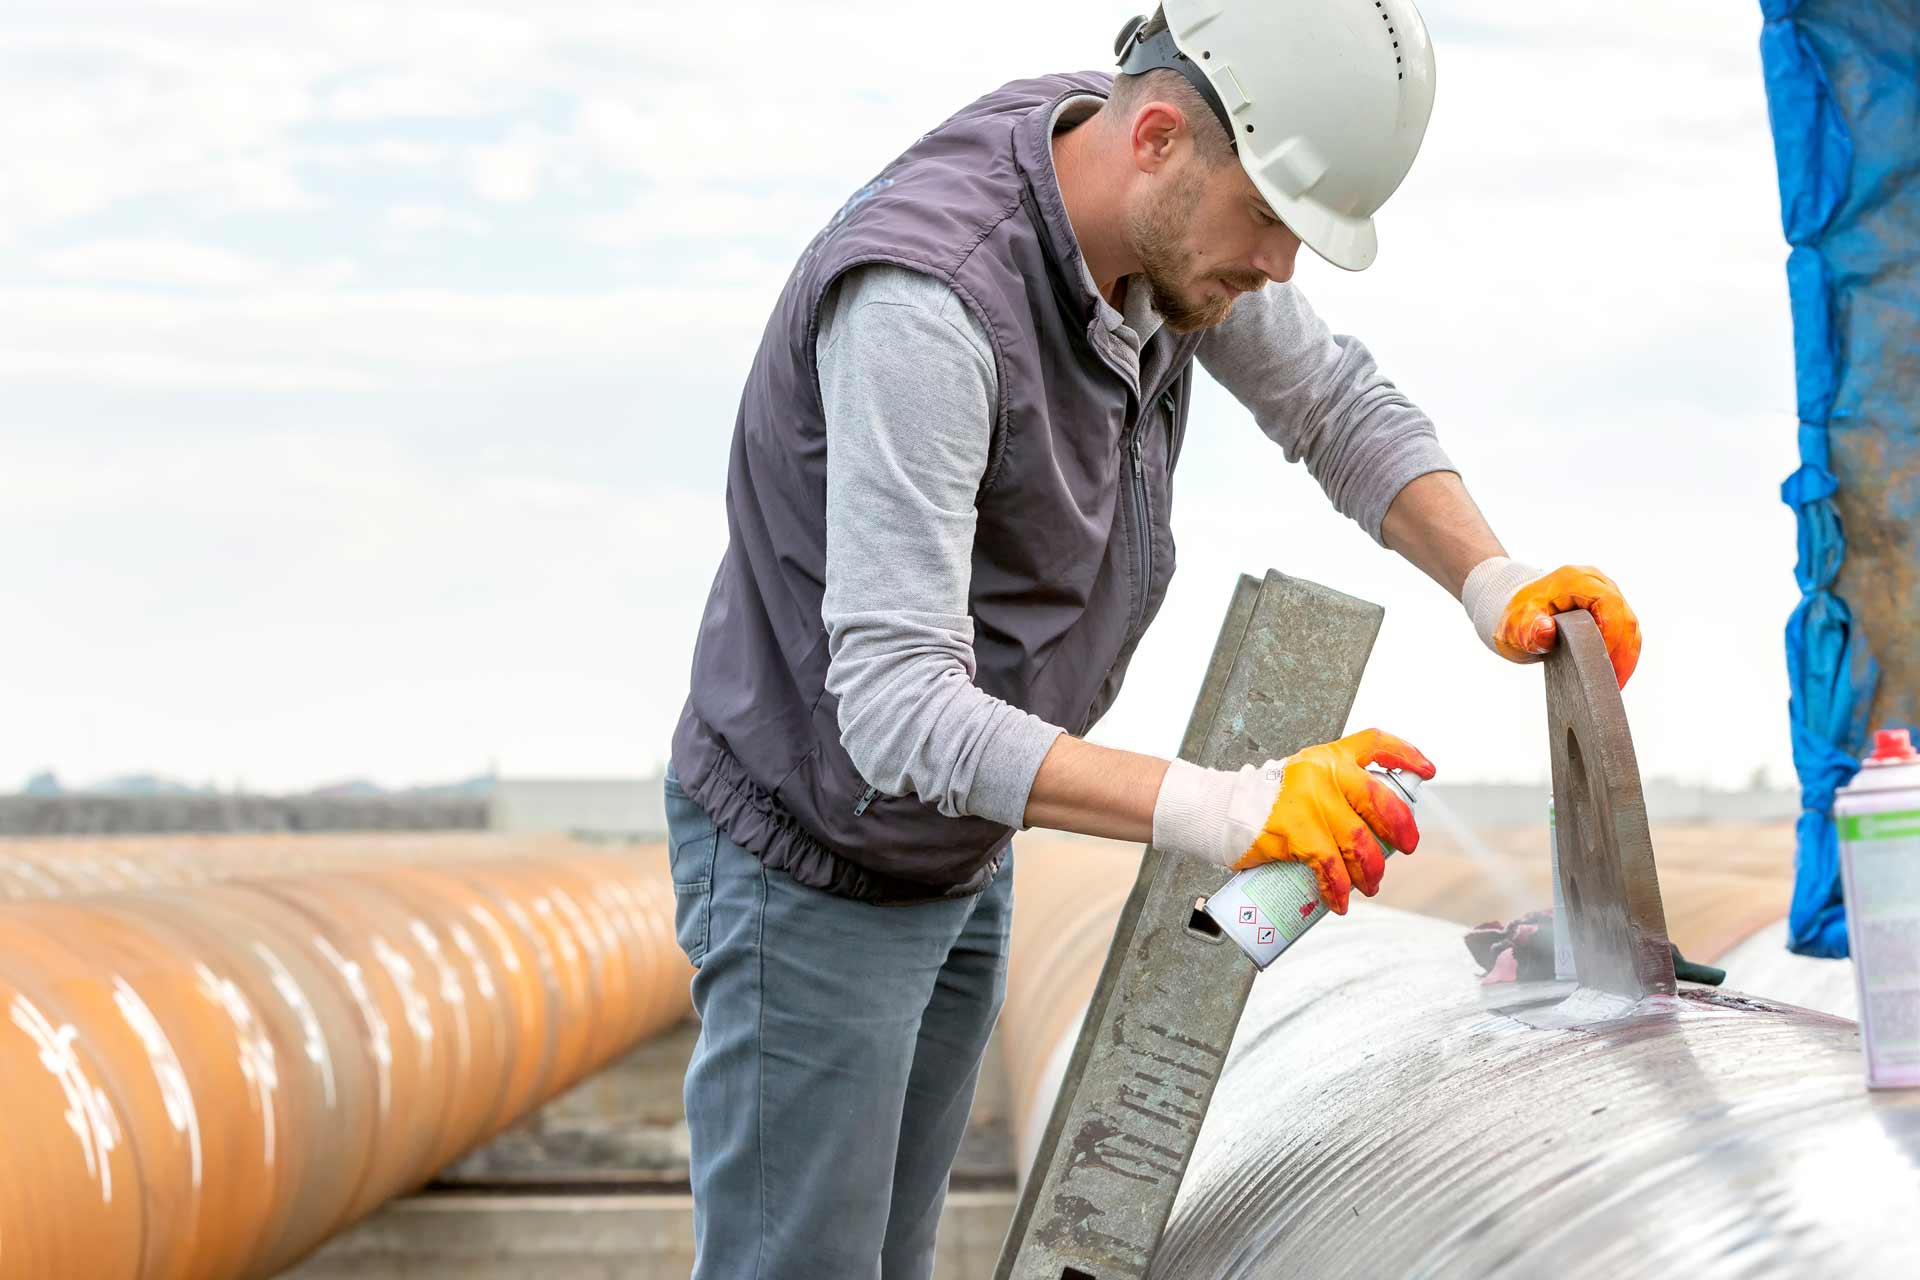
Liquid penetrant testing is used for finding surface defects/discontinuities in non-porous materials. This technique can be applied to ferrous and non-ferrous materials, although for ferrous materials, magnetic particle examination is often used for its subsurface detection capabilities. This technique uses capillary action properties in that the liquid will be drawn into a clean surface, breaking defect/discontinuity. Following the “dwell time,” the excess surface penetrant is removed and a developer is applied. Any surface defects/discontinuities will have the penetrant drawn from them to reveal its presence within the material being examined.
Magnetic Flux Leakage (MFL)
Magnetic flux leakage testing is used to detect corrosion/pitting in steel structures/materials. Large steel structures are prone to corrosion/pitting that sometimes may not be visible to the eye. The magnetic flux leakage technique uses a magnetic field to detect corrosion/pitting in that it saturates the ferromagnetic material of interest. If there is corrosion/pitting present within the saturated area, the field will “leak” and be detected by the scanner. This is a common technique used to examine tank floors with a particular interest in the soil to tank floor interspace and also a common place to find corrosion on tank floors.
